Need a New Trampoline Mat? How to Measure & Replace
Very little can spoil a fun summer event like a broken trampoline.
Something as big as a trampoline must be a nightmare to replace, filled with nasty costs and annoying details.
It may surprise you to find that the process can be simple and easy.
Want to learn how best to get your trampoline mat back up and running? Let us show you how!
The Classic Trampoline Mat
Invented by George Nissen in the 1930s and popularized in the 1950s and 60s, the trampoline has been a hallmark of American culture ever since.
Despite a run of accidents in the 1970s, trampolines have had a resurgence in popularity. These days, trampolines are a common sight in big middle-class suburban yards.
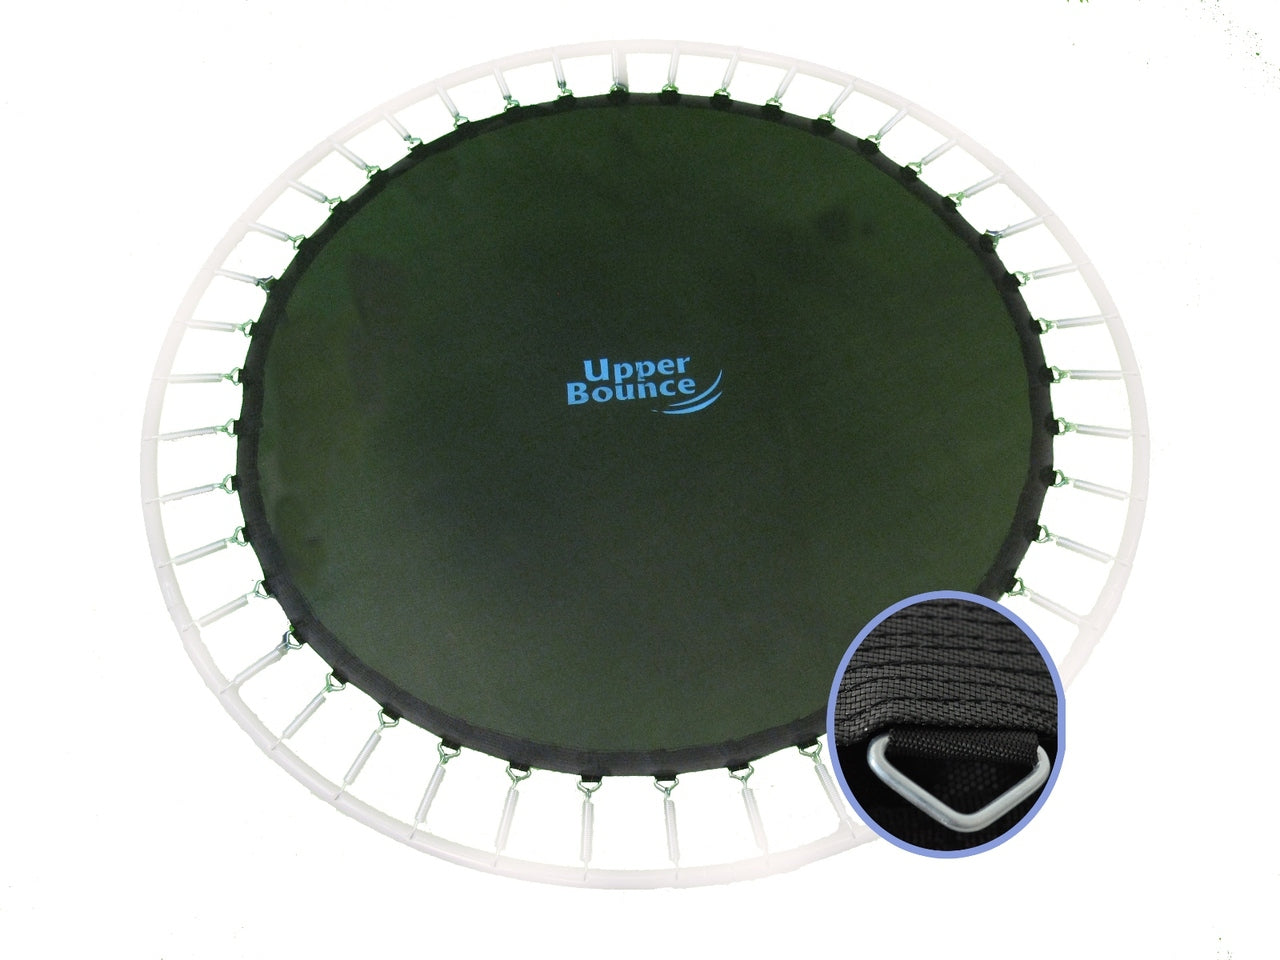
The part of the trampoline we will be looking at is the trampoline mat, often called the jumping surface. It is the stretched surface that is the core of the trampoline. It is also the most vulnerable to wear and tear.
Replacing Your Trampoline Mat Over Patchwork
Damage to your trampoline mat will spend the end of the fun on a trampoline. It doesn't have to spell the end of the trampoline overall.
The trampoline mat is an easy to replace item. No matter what the damage to the mat received is, the process for replacing is always the same.
What happens when you only have minor damage? Would it not be better to patch up the tear or damage?
Patchwork can be a risky path. Even with professional patching, the area is still damaged, and the wear will continue to worsen. It is a temporary fix, and will only delay the inevitable replacement down the line.
Why You Need to Replace
A trampoline mat can take a large variety of abuse over the years. While their wear and degradation are inevitable, what gets them in the end is not.
1. Overuse and Pressure
The most common reason for breaking. A trampoline's design returns it to its original form with each bounce, but there is a limit to this. Over time, the design will weaken and retain its shape less and less.
The quicker way to break a trampoline mat is excess weight. Too many people and too heavy of a person can both put too much strain on the mat and springs of the trampoline.
2. Weather Conditions
The weather can be a major hazard to trampolines.
Rainwater can wear and rust the springs of the trampoline. Excessive cold can be very bad for the material of the trampoline mat as well as the springs.
If there is excessive snow, the sheer weight can strain the trampoline mat.
In the most disastrous events, wind can topple and toss a trampoline away. Tumbling across the yard or even onto other objects can tear and break any part of the trampoline.
3. The Accidents Gone Wrong
Misuse of a trampoline can cause horrible damage to a trampoline.
An accident or mistreatment could be any number of things. Some of the most common is using fireworks too close to the trampoline and fallen branches from nearby treats tearing up the mat itself.
Children can often mistreat a trampoline by being too rough around them or bringing dangerous equipment near them.
Keep any and all sharp objects away from trampoline mats. Even if they don't seem that sharp, a single cut can spell doom for the trampoline.
How to Measure and Replace Your Trampoline Mat
There are three major steps towards replacing your trampoline mat. These steps are simple and easy, and will leave you with the correct knowledge to getting the correct trampoline mat.
If you prefer a more audio and visual approach to these steps, refer to this video here.
1. Measure Your Frame
Measure across the diameter of the entire trampoline frame. Do not measure the inner ring of the trampoline mat itself.
Measure twice in a cross formation to ensure that the mat is indeed a perfect circle. The usual measurements for a trampoline mat are 12ft., 14ft., and 15ft.
2. Count the Spring Holes
This is the simple step of the three. You need to know the number of holes around the edge of the trampoline where the springs connect to the trampoline mat itself.
Mark your place on one edge of the trampoline. Afterward, count the number of holes all around the edge of the trampoline mat.
There is no standard number of holes you can have. The number may change depending on make or style. Make sure to double check your number.
3. Measure the Springs
First, to measure the springs, you will need to remove the spring from the trampoline itself. An installed spring is far too stretched and provides a poor measurement.
As well, old and worn out springs are not an accurate measurement. If all of your springs are too worn out and run down, you might still be able to estimate the size from the worn spring. It is not ideal, but work with what you have.
To measure the spring correctly, measure from tip to tip. Do not measure only the coils of the springs. The hooks on either end are a needed part of the spring itself.
The common sizes for springs are 3.5in., 5.5in., 7in., and 8.5in. in length.

Replacement Mats
Once you know the size and shape of the mat in question, you need to find a good replacement mat. Finding the exact mat that fits will be easier to narrow down with the above information.
We at JustTrampolines.com have a large host of replacement mats for all shapes and sizes. Our search system allows you to narrow it down to what you need.
Back to the Fun and Games
Getting your trampoline mat back up and running is a great feeling. It is even better when you took the time to learn how you can replace it with little fuss and even less money.
For all your future repairs, additions, and purchases, you have a powerful source in JustTrampolines.com. Need help on your next trampoline related endeavor? Contact us today!